Introduction to Image Mappings in vRealize Automation
In order to create a blueprint with a virtual machine, there is need to import images from the underlying cloud provider.
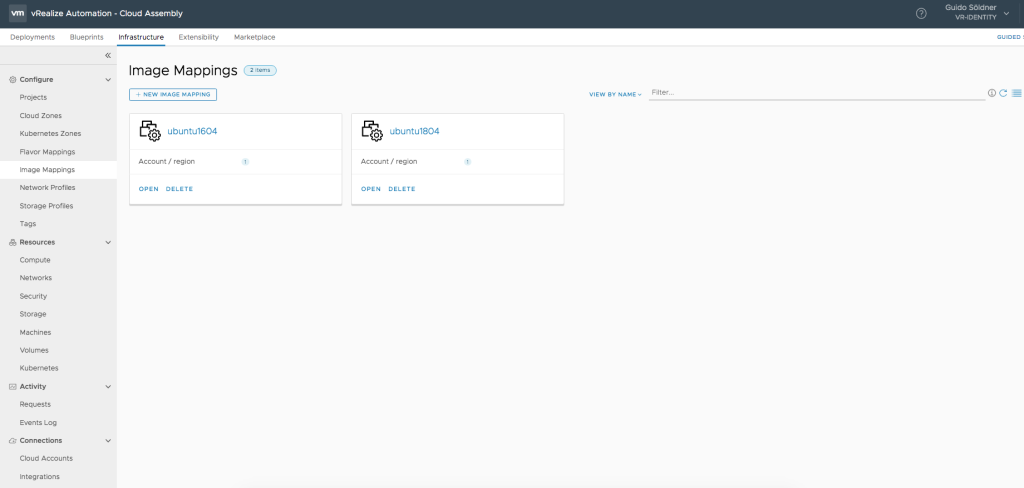
In contrast to vRealize Automation 7, administrators have full control which images should be imported into vRealize Automation 8, hence there is a dedicated menu item called „Image Mappings“ on the Infrastructure tab.

Importing an Image is quite easy and can be done via the [+ New Image Button] button.
If you are using vSphere as a cloud provider (what most users certainly do), be sure to configure the template in vSphere beforehand.

Advanced Image Mapping Techniques
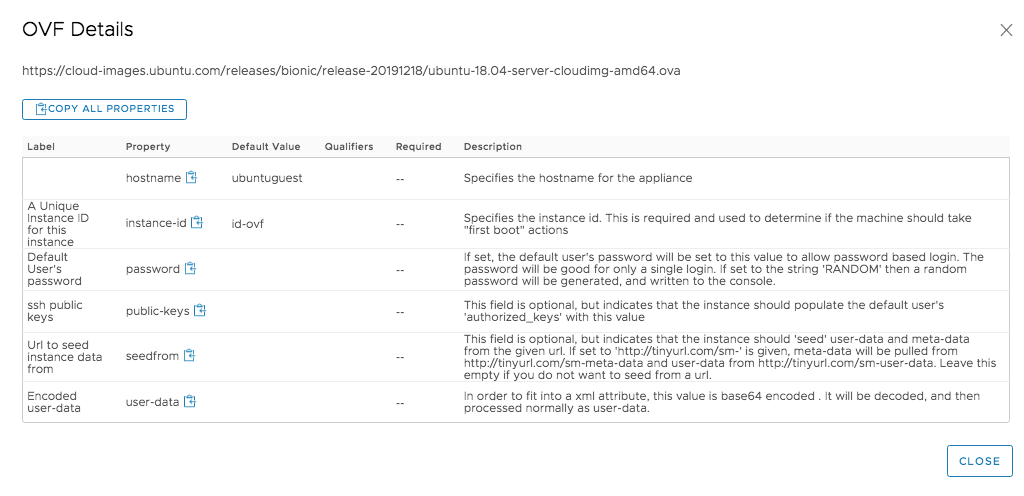
Alternatively, you can directly reference cloud images. For example, when instead of manually importing an Ubuntu template in vSphere, you can just use the URL to import the image. That’s definitively a cool feature, however, please be aware that provisioning might take some more time, as the backing ovf-file has to be downloaded first.

Once the configuration has been completed, you are able to see the OVF details:

Setting up Constraints and Cloud Configuration will be discussed in a later post and are optional.


